Wednesday, June 17, 2015
On the road again...
Sunday, April 19, 2015
My Cars
Sunday, March 03, 2013
Fun filled weekend.
It finally was warm enough to work in the garage, so I decided this was the weekend to get the hardtop hoist set up so I can single-handedly remove and replace the Jeep’s hardtop.
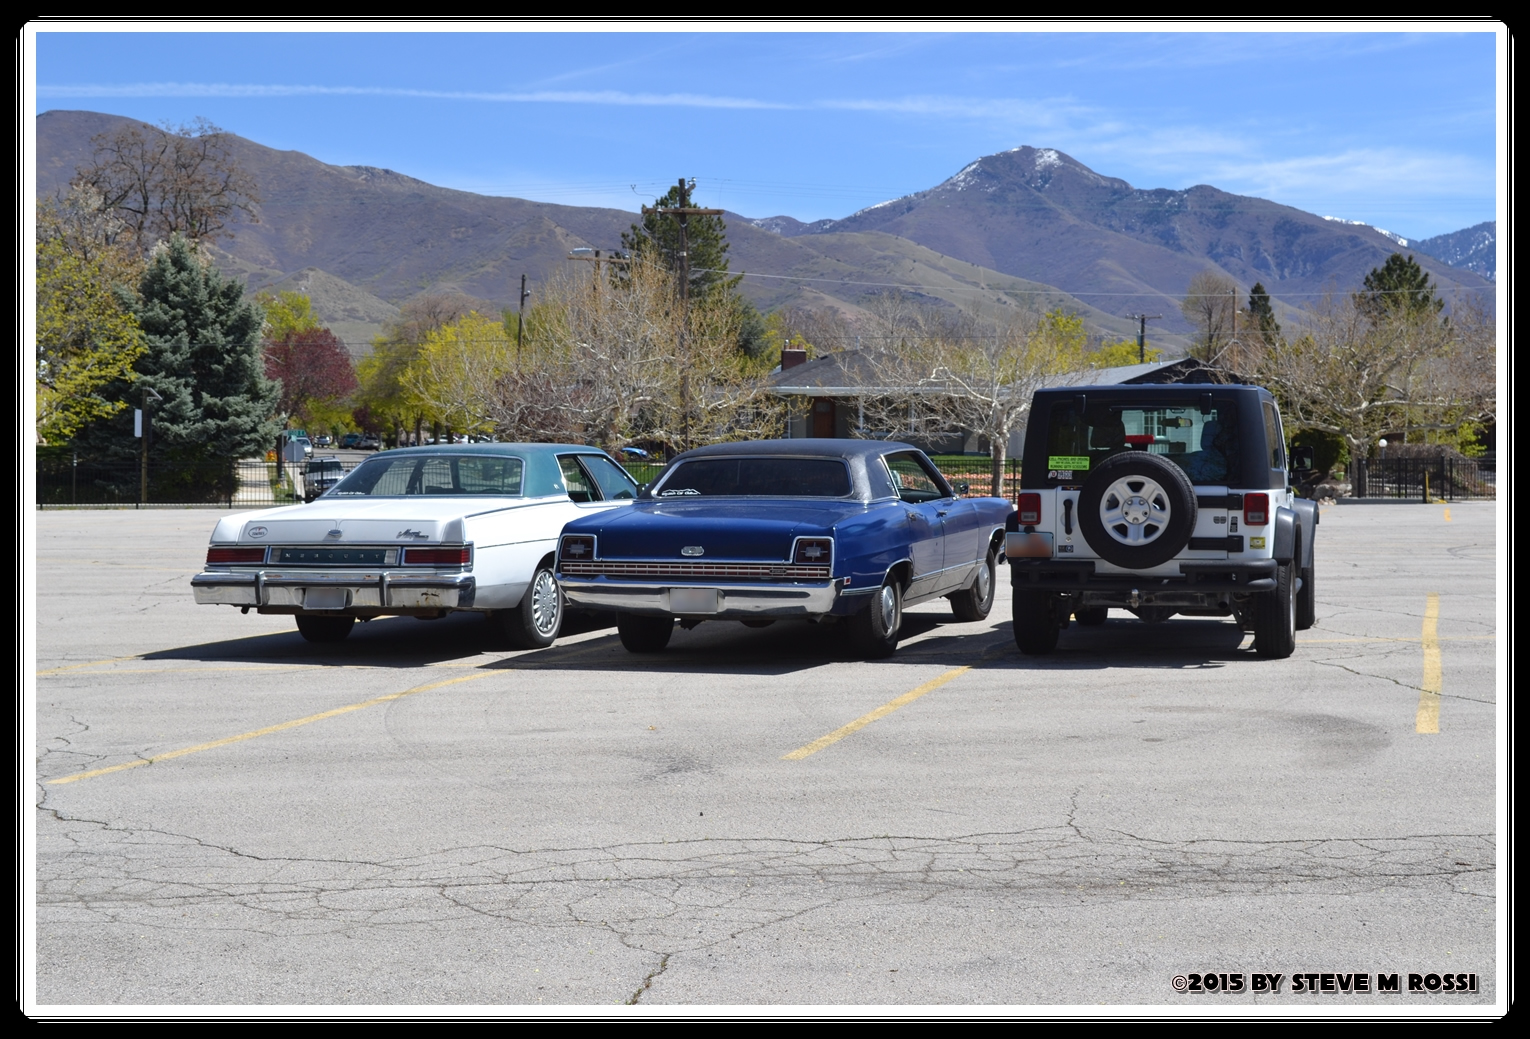
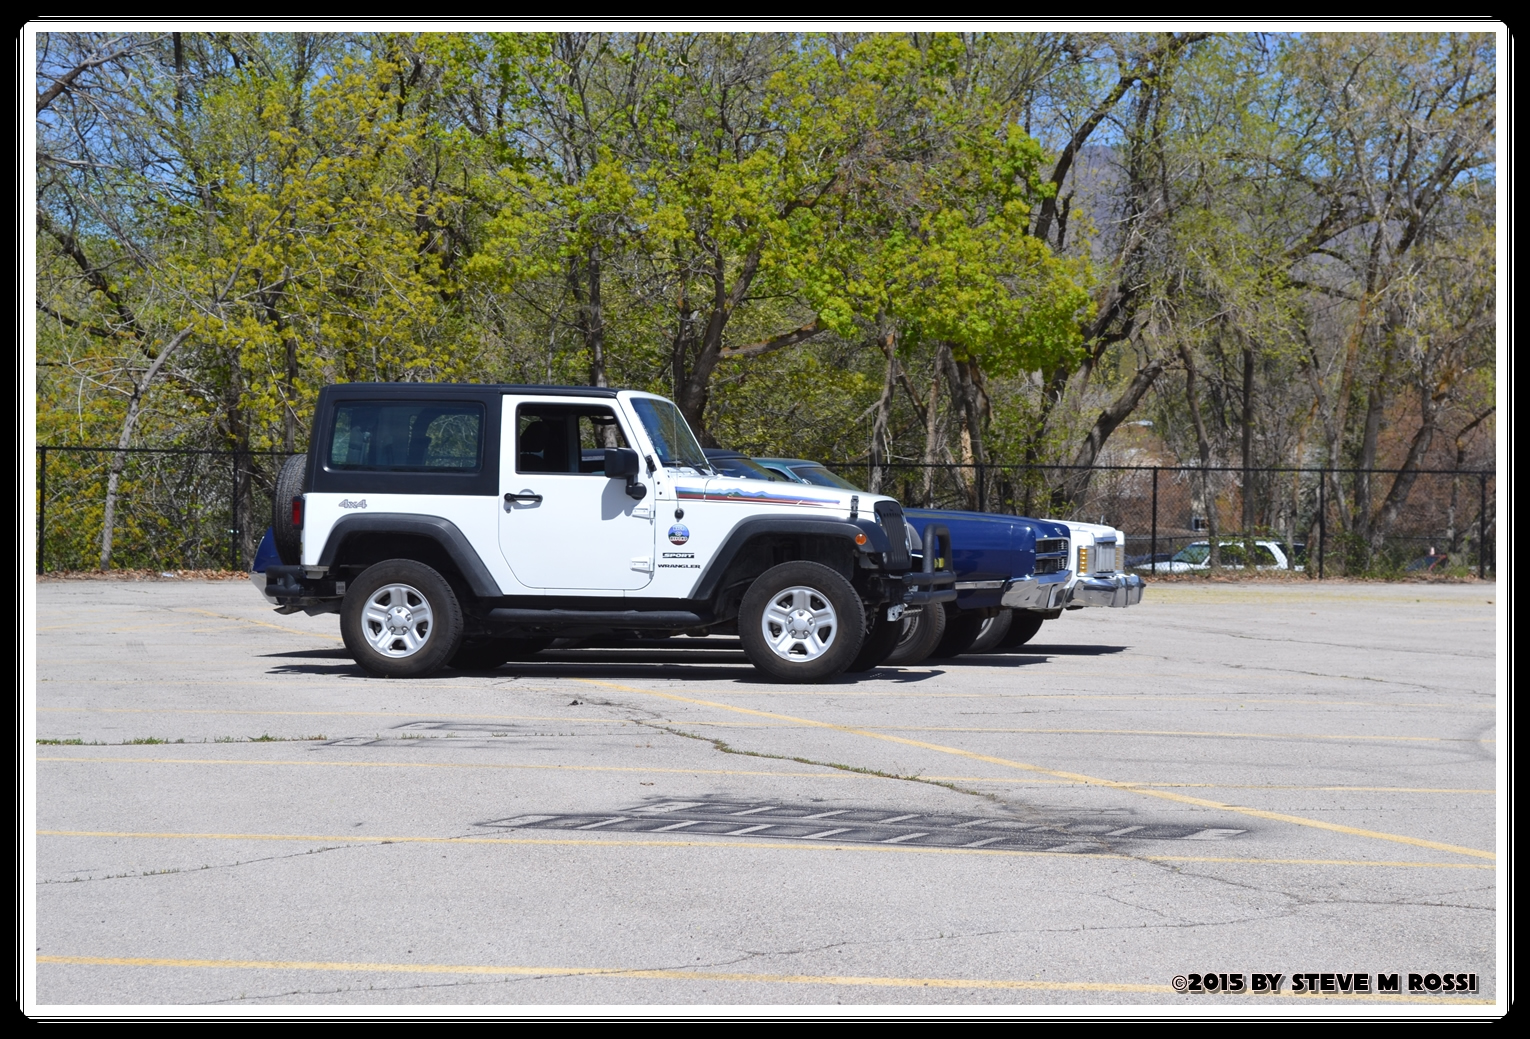
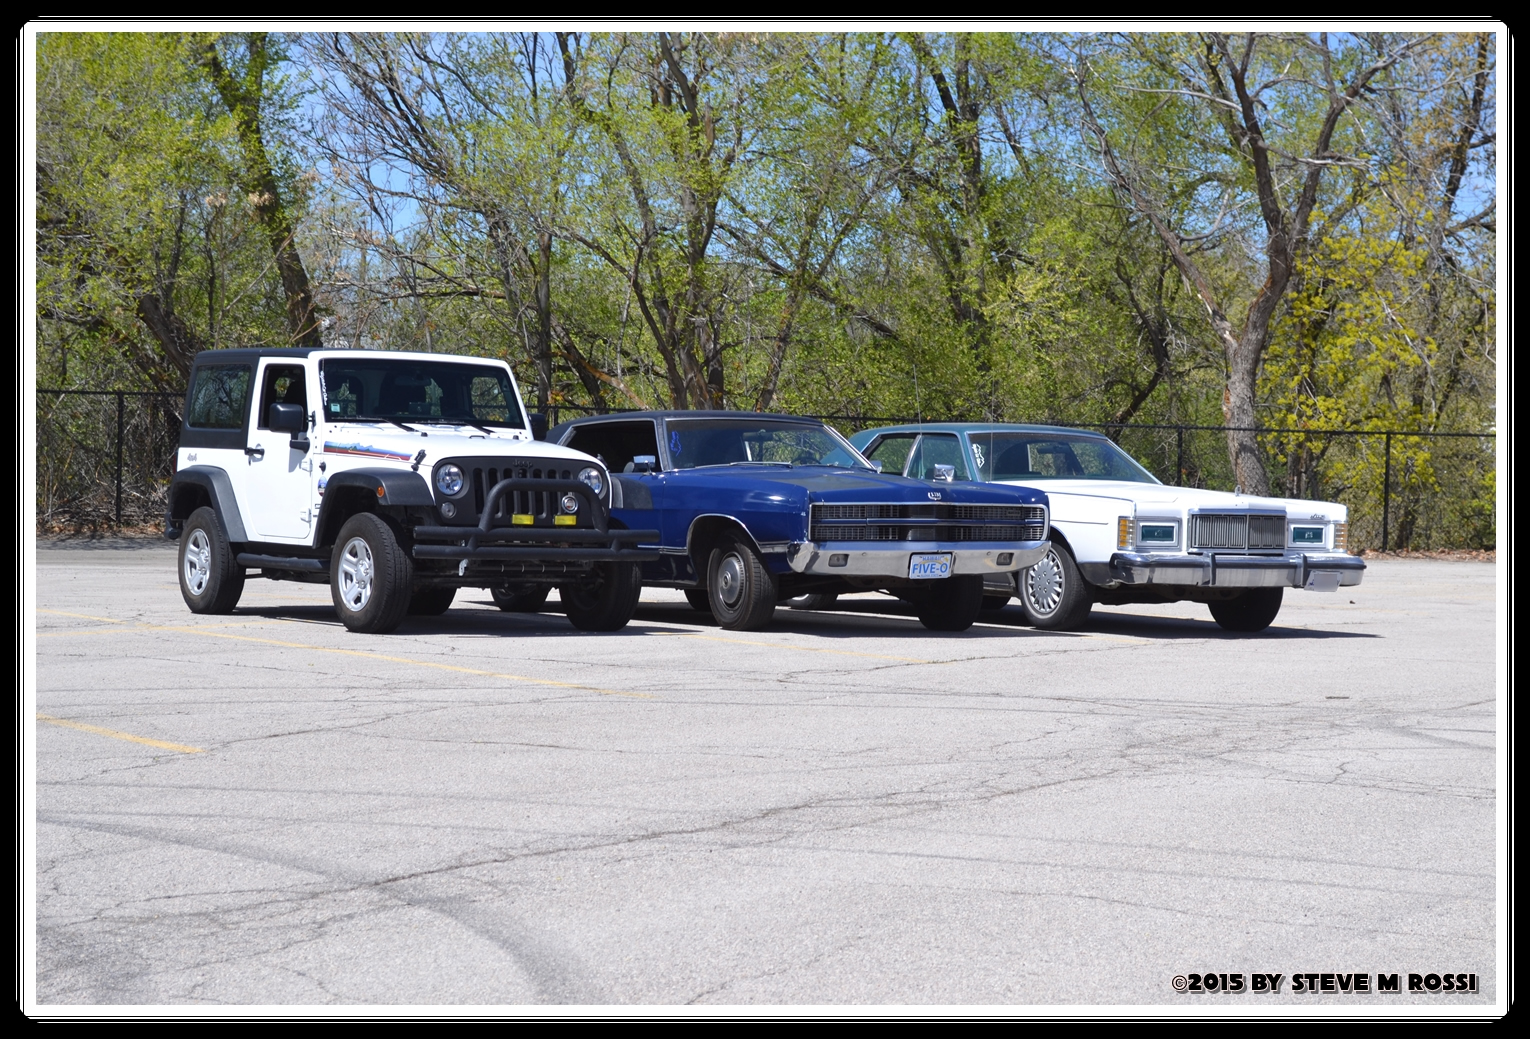
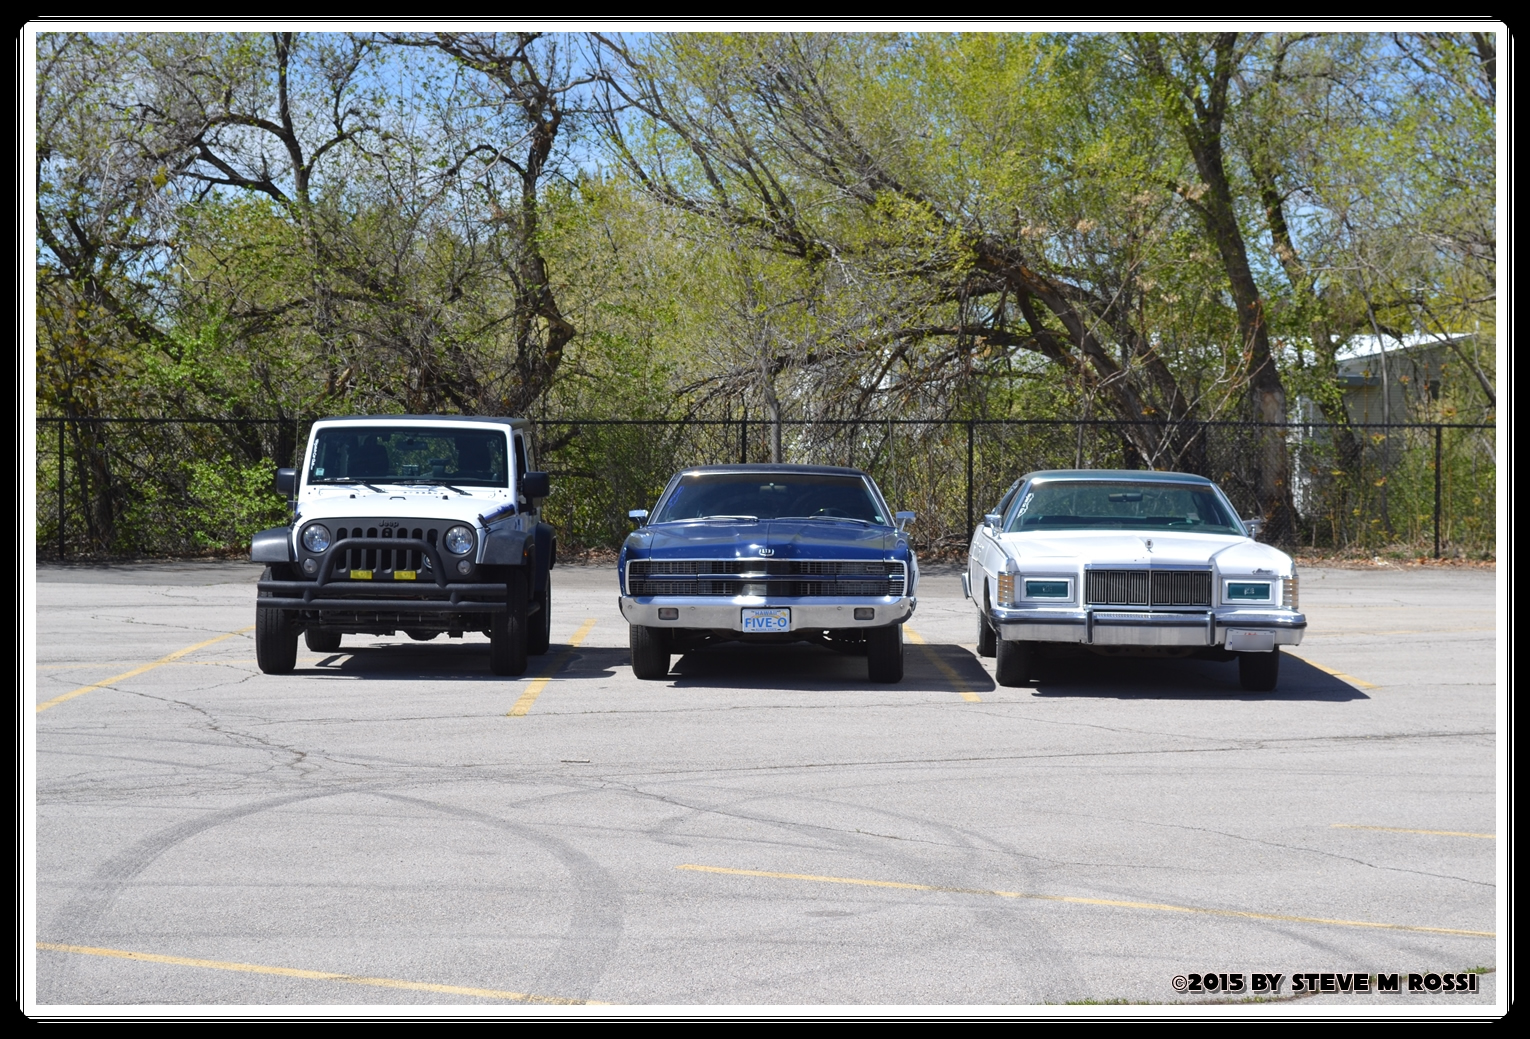
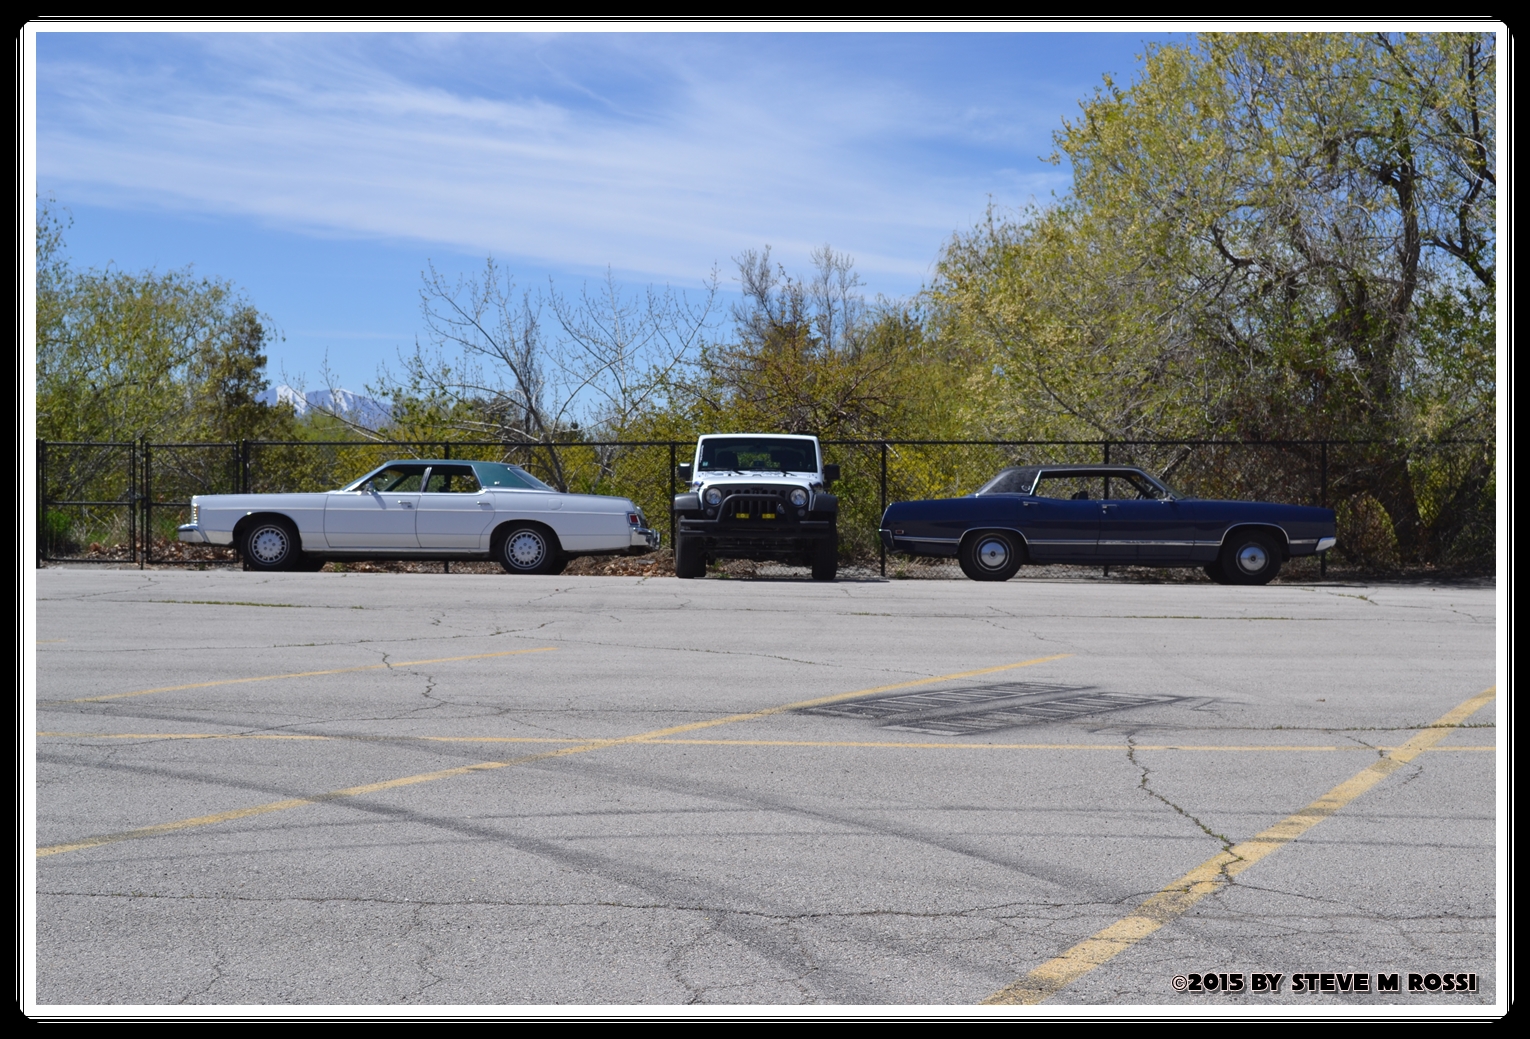
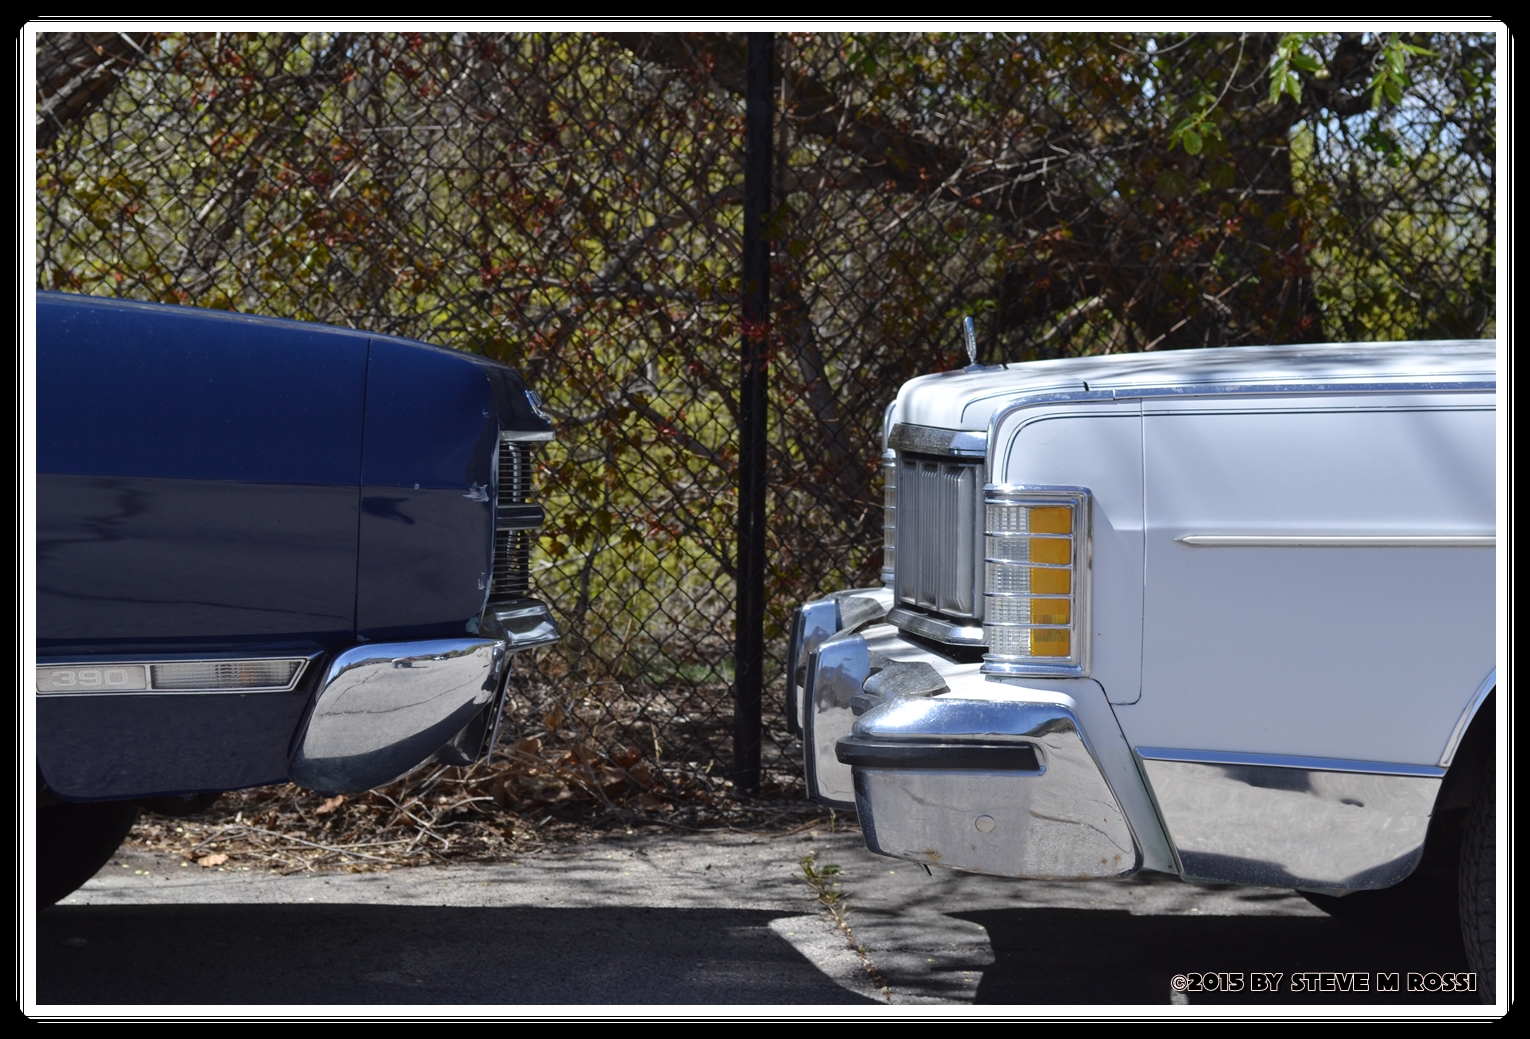
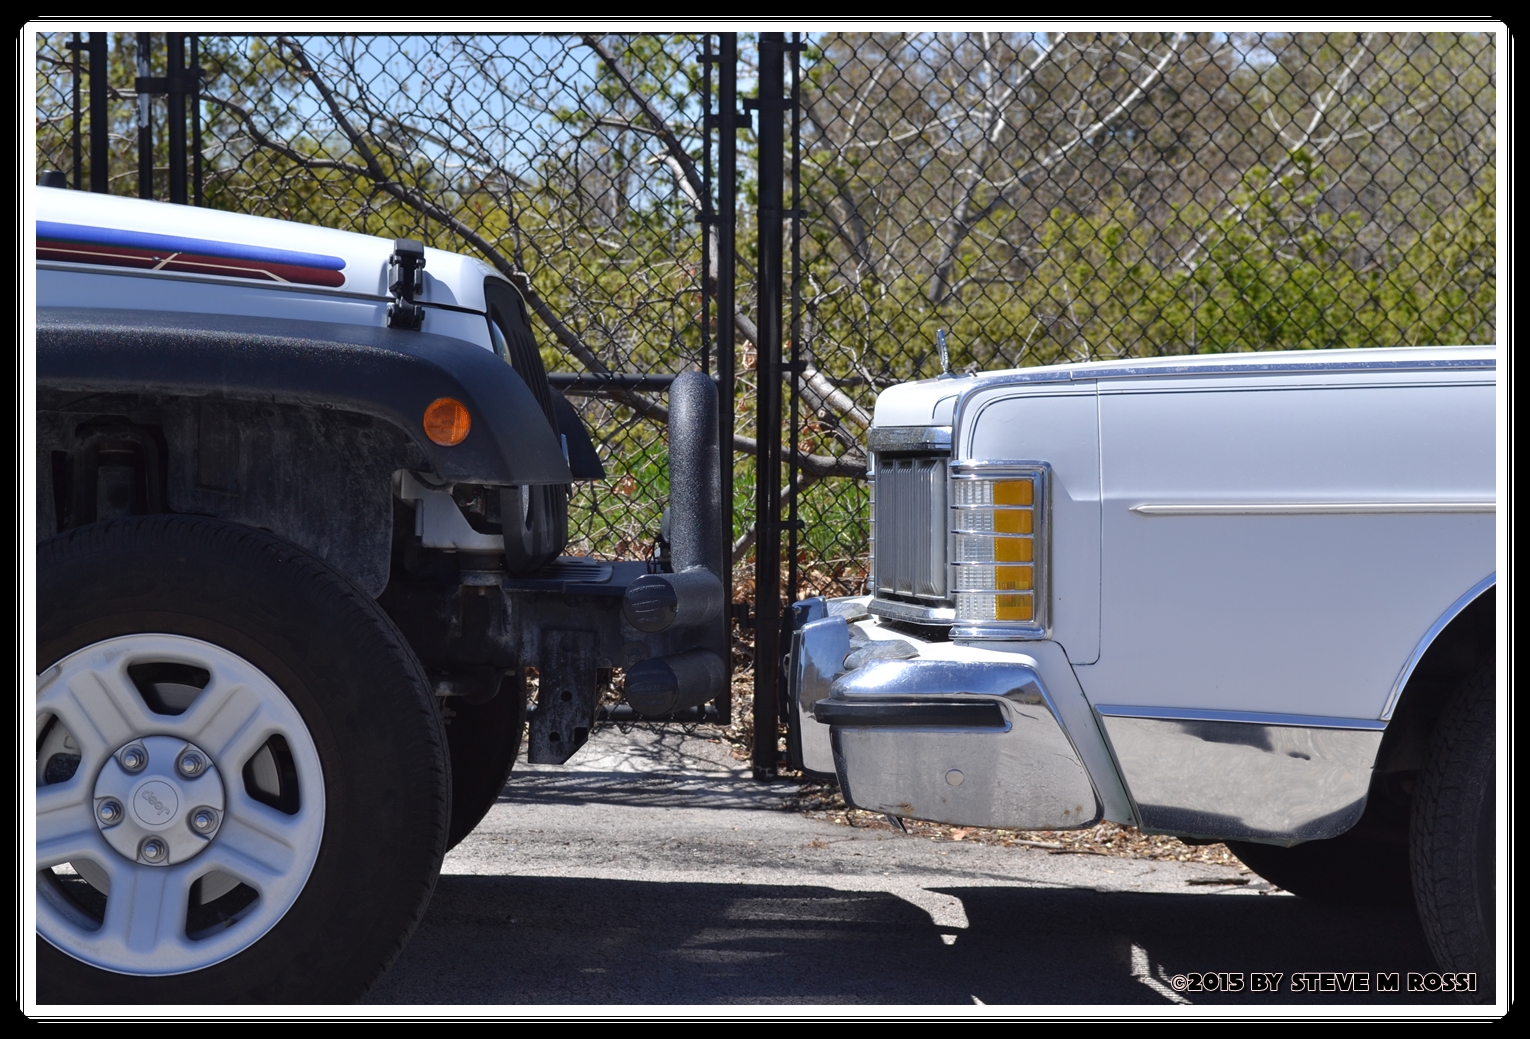
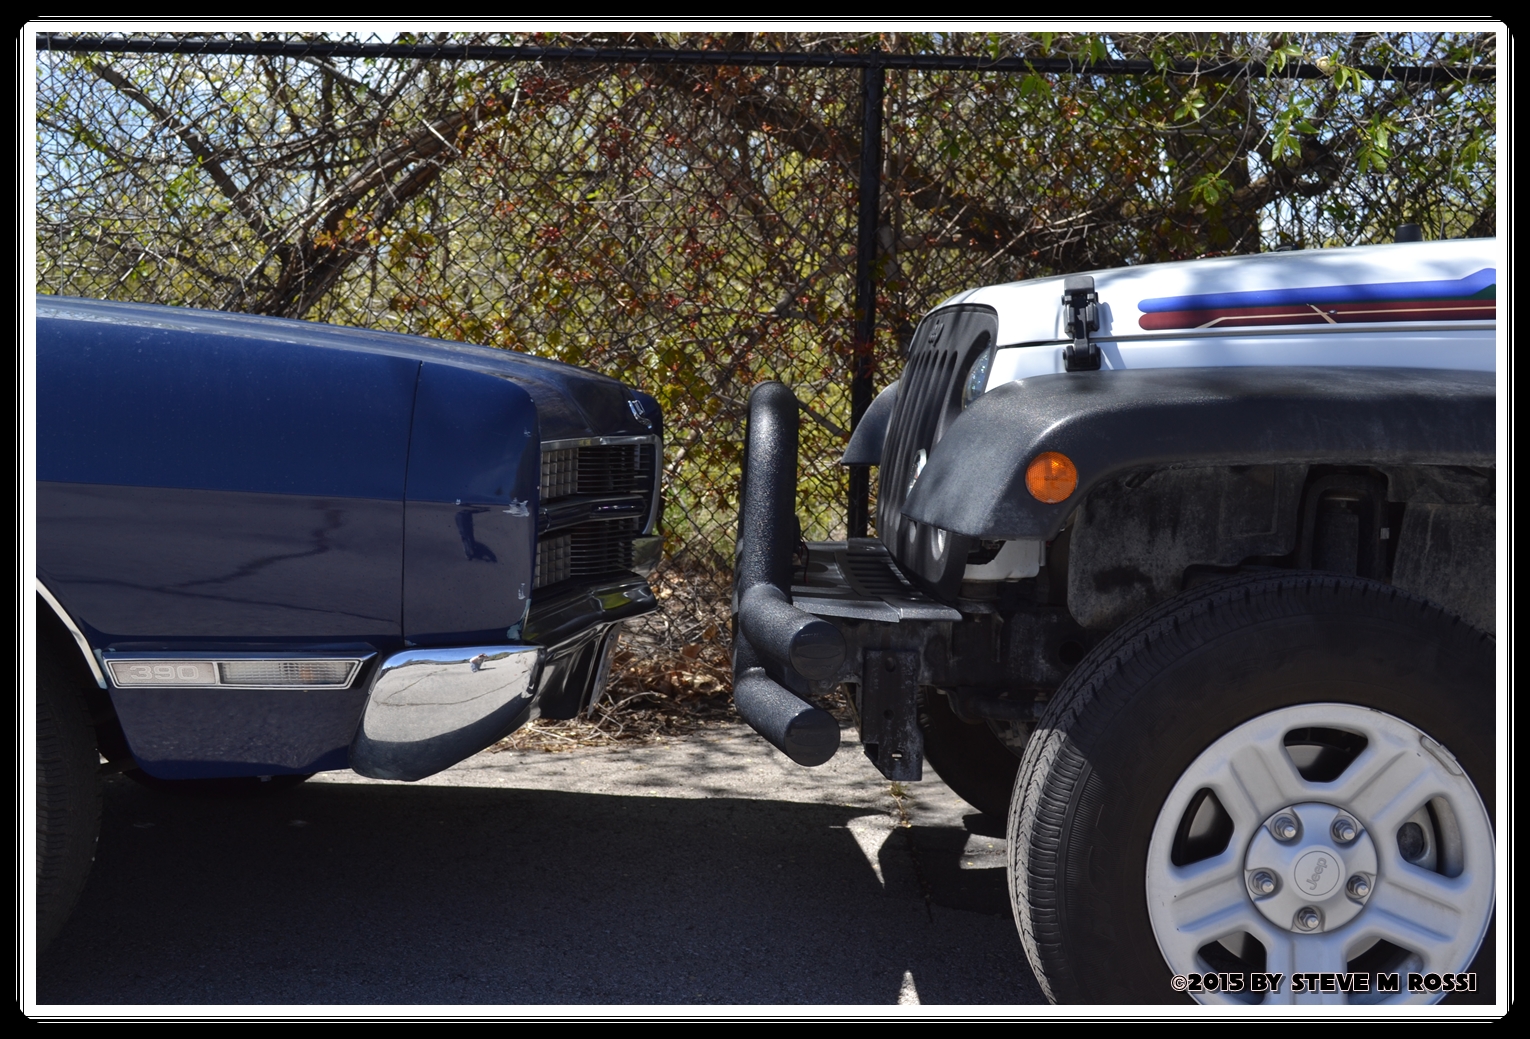
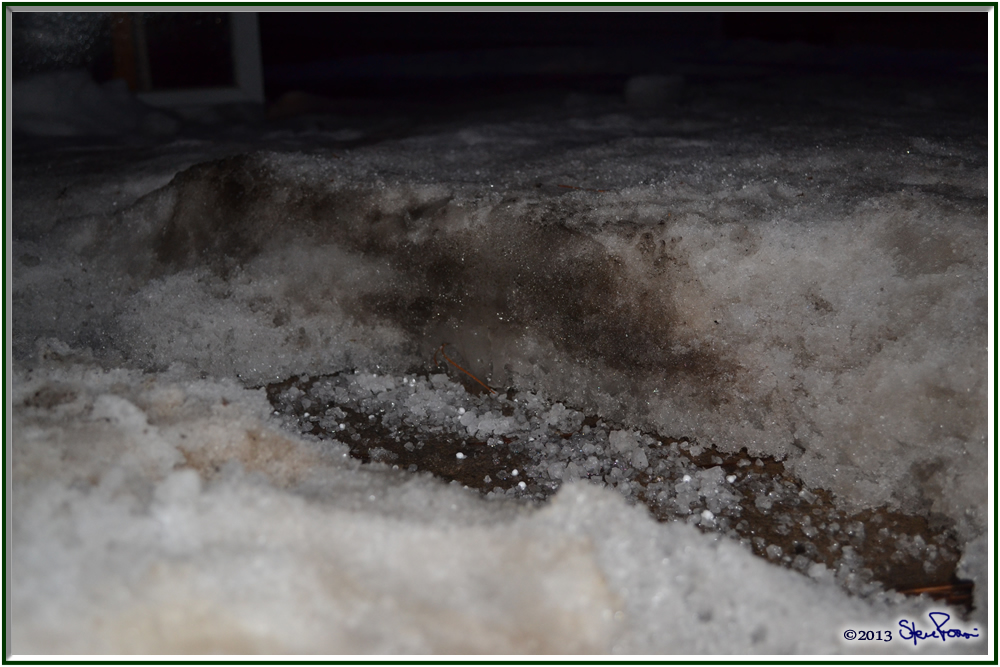
First, I had to get the Fords out of the garage, which turned out to be a major production. Alphonse, the ‘78 Marquis, no trouble. I got it out, took it down to the car was to get the winter’s grime off it and parked it out of the way without any problem. Old Blue, the ‘69 LTD, wasn’t as cooperative. It got stuck on the ice, which I found out was 5” thick in some spots.
This was Friday afternoon, right about dusk, and as it got darker and colder, and the melted ice started to freeze up again, I had to leave Old Blue sitting across the whole driveway overnight. Fortunately, I had thought ahead and the Jeep was parked on the street and not blocked in the driveway.
Saturday afternoon, when it got warm again, after a lot of salting, chipping, digging and tire wear, I finally got Old Blue out, to the car wash and in it’s pre-determined spot out of the way.
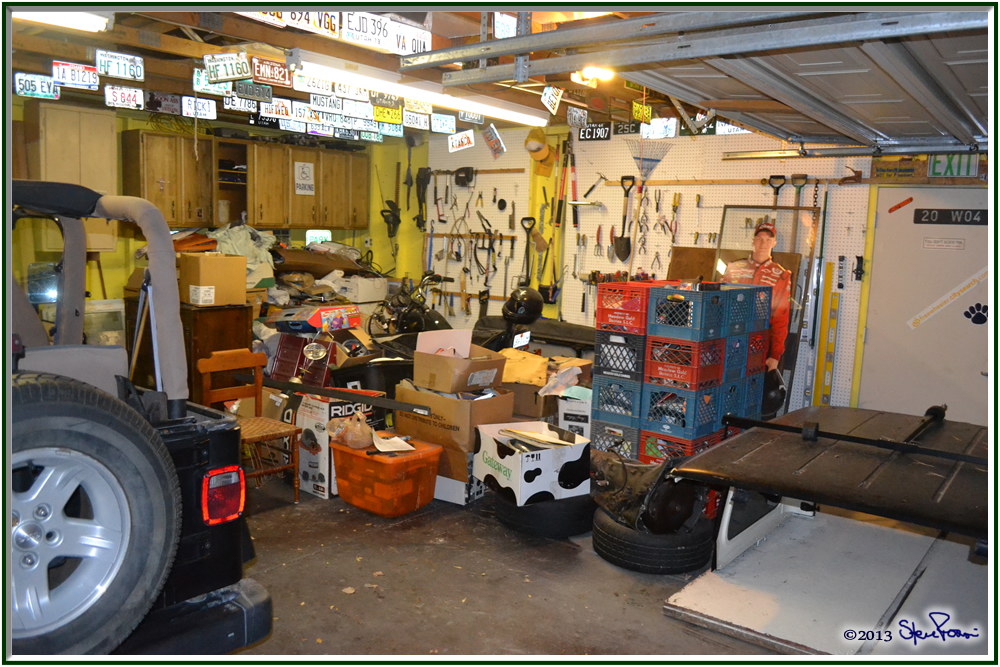
The the real fun started. I had to move all the stuff stored at the back of the garage on the north side into the south side. Believe it or not, all that stuff fit, stacked about 3’ deep, along the back wall of half the garage.
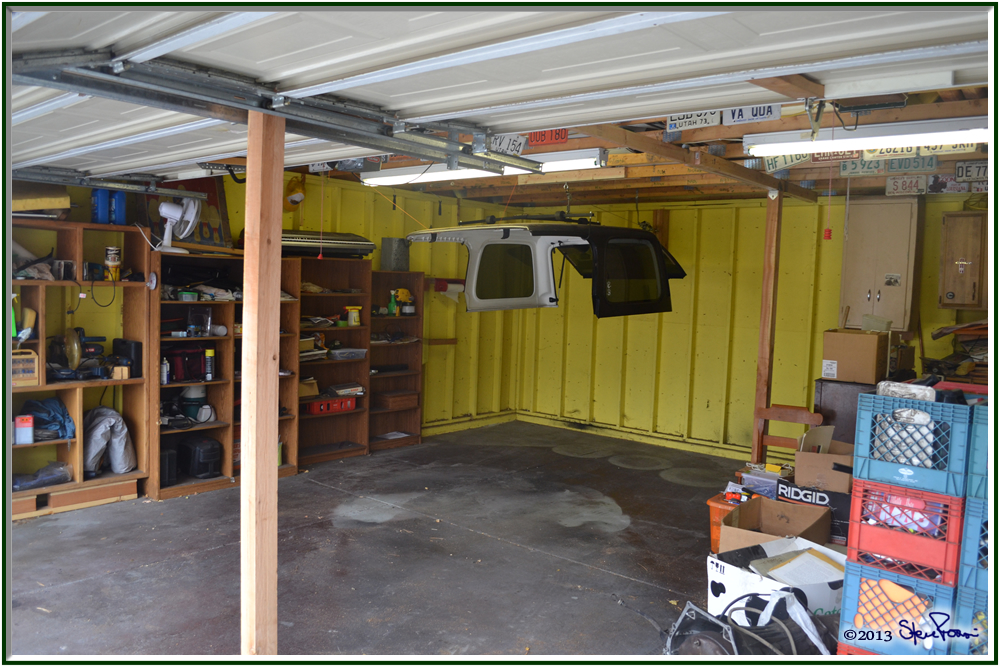
Anyway, after 4 trips to Home Depot and most of the afternoon, I finally have the hoist all hooked up, and a beam in the middle of the garage to help support the weight.
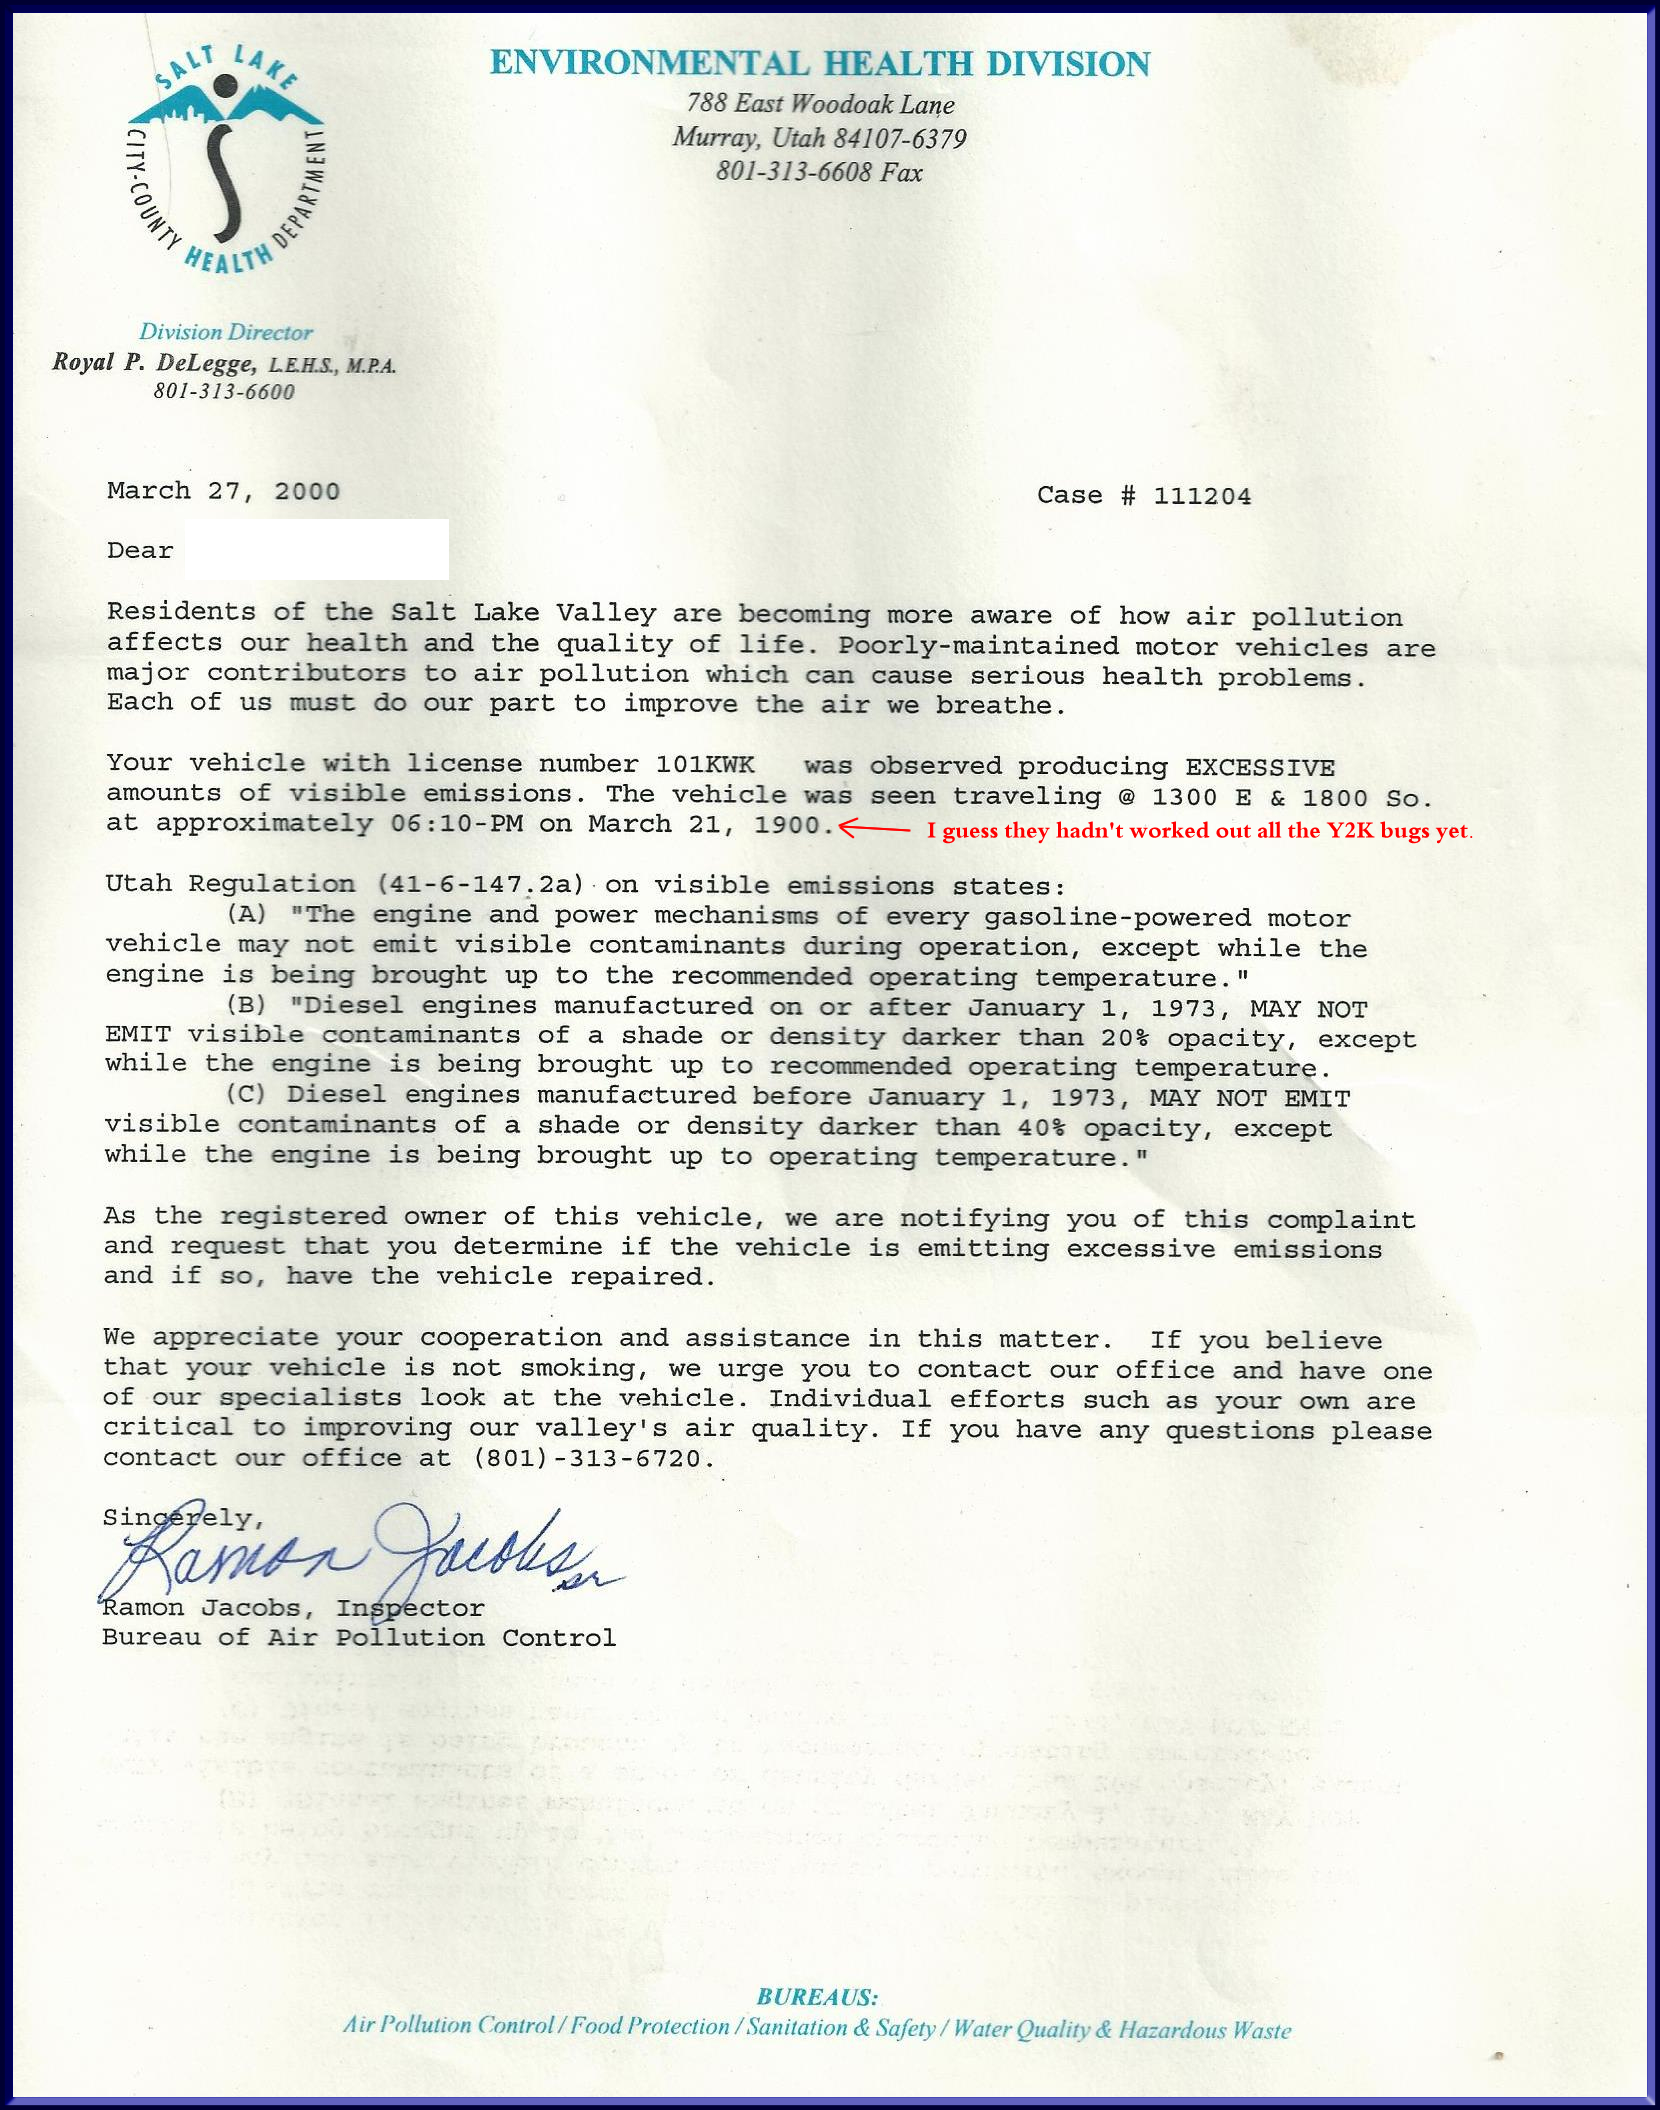
Finis. And I found some funny stuff while moving the crap from one side of the garage to the other. Such as this letter from the Salt Lake Bureau of Air Pollution Control which sped up the replacing of the engine in my convertible LTD. (Click to read)
I’m sure I’ll find a lot more interesting things as I go through everything this summer.
Finally, this optical illusion shirt that a student wore to school on Crazy Pattern Day.

Friday, October 19, 2012
One step closer.
I spent an hour at a place that does CNG conversions today. Learned a lot, and now I’m even more sure that I want to do the conversion.
It’s going to cost me about $5,500 for the conversion to bi-fuel, which means the car will still run on gasoline if I ever run out of CNG.
They also offer financing, which is helpful since I don’t have six grand hanging around. I’ll have a car payment for the first time in several years, but the savings in gas bills should make the payment, and more. Gas mileage per GGE (gasoline gallon equivalent) should be about the same, and since Utah is flush with natural gas production, a GGE costs about $1.50 right now.
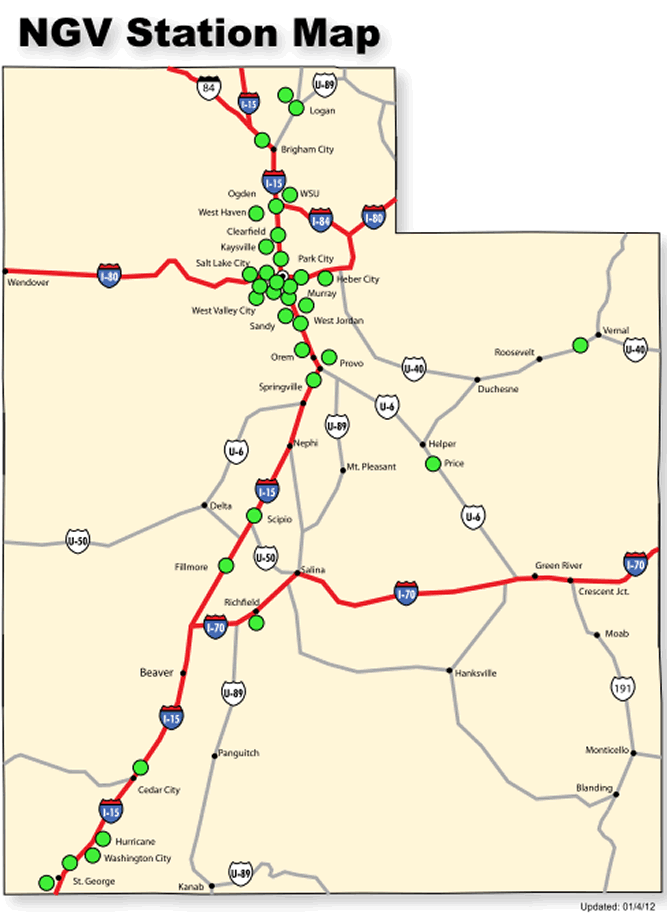
With the bi-fuel, driving long distances isn’t a problem, although a lot more expensive if I can’t find a CNG station. Fortunately, as you can see from the map, there’s quite a few stations around Utah. I could probably make it all the way to Vegas and back totally on CNG.
Do I hear “Road Trip”?

Monday, October 01, 2012
CNG it will be.
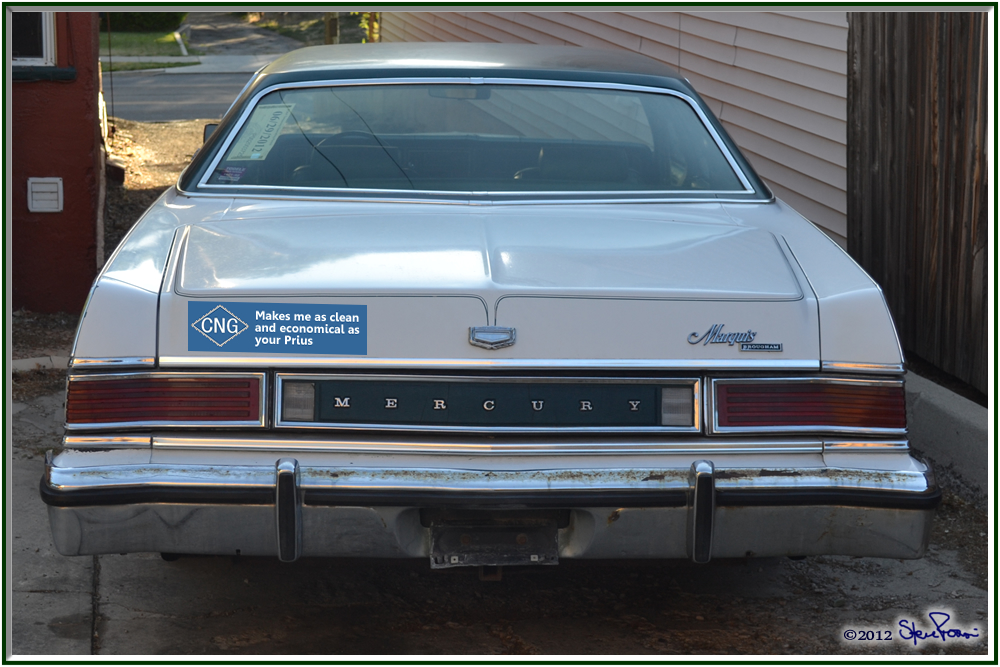
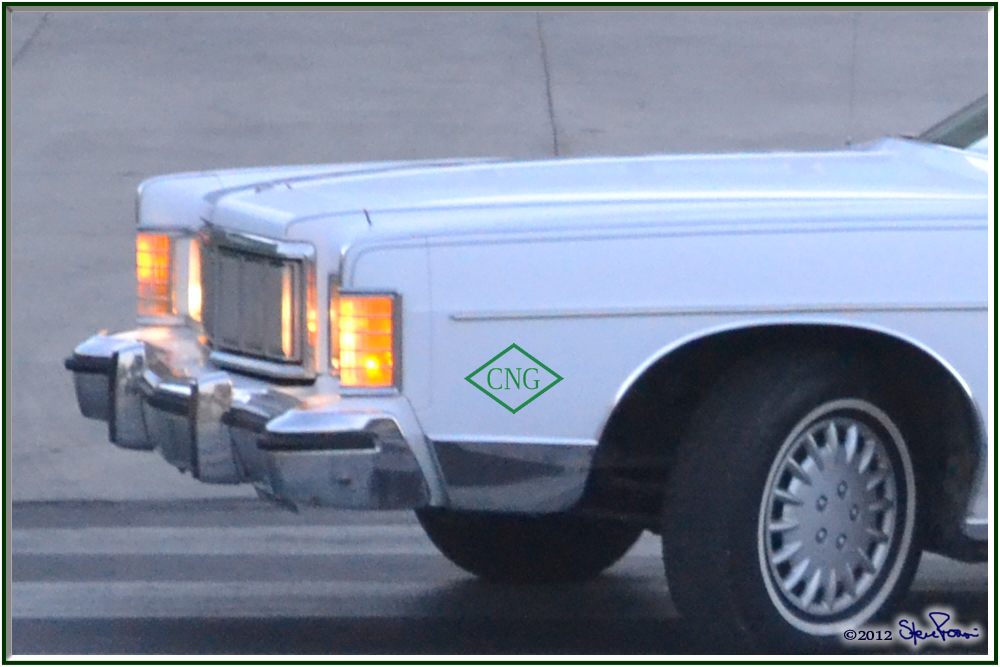
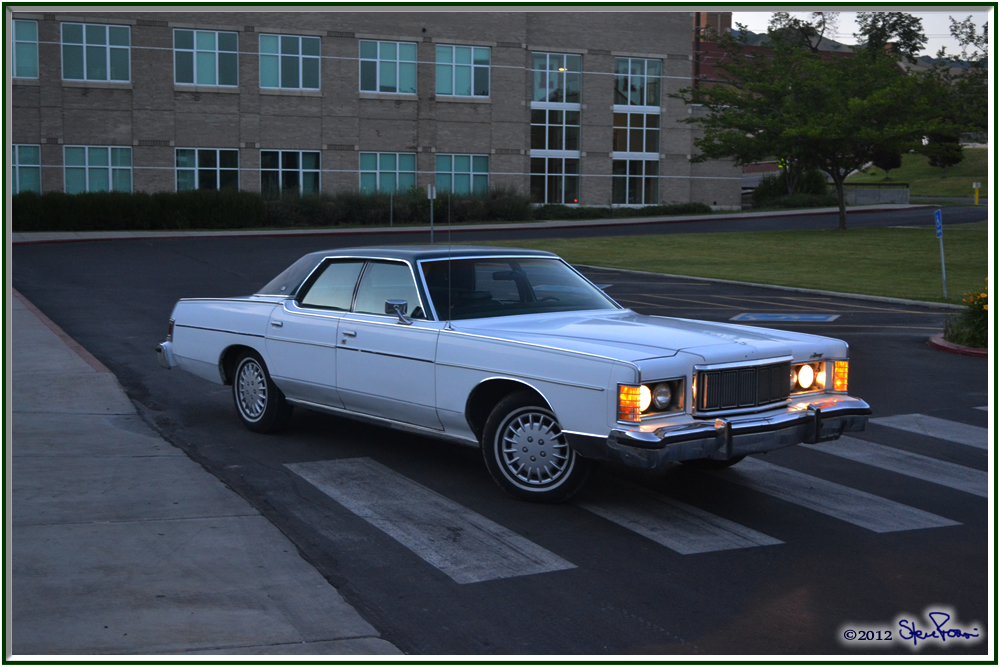
I’ve been toying with, and looking into, the possibility of converting Alphonse over to CNG (compressed natural gas). CNG runs at between $1.25 and 1.75 a gallon equivalent, making that big boat not only as cost efficient as a 35 MPG car, but also every bit as nice on the environment. The big drawback is that the conversion could cost up to, and maybe beyond, $6000.
Makes this car as efficient and clean as your Prius.
I thought about buying something economical, for that amount of money I could get a decent little car. But I really like the car I have, except for it’s gas mileage, and it’s in excellent running condition. So I did a little bit of calculating, (with CNG at $1.50/gal eq, gas at $3.75/gal and assuming I drive it 10,000 miles a year), and figured out that it would take me just under 2 years to get back my $6,000 investment.
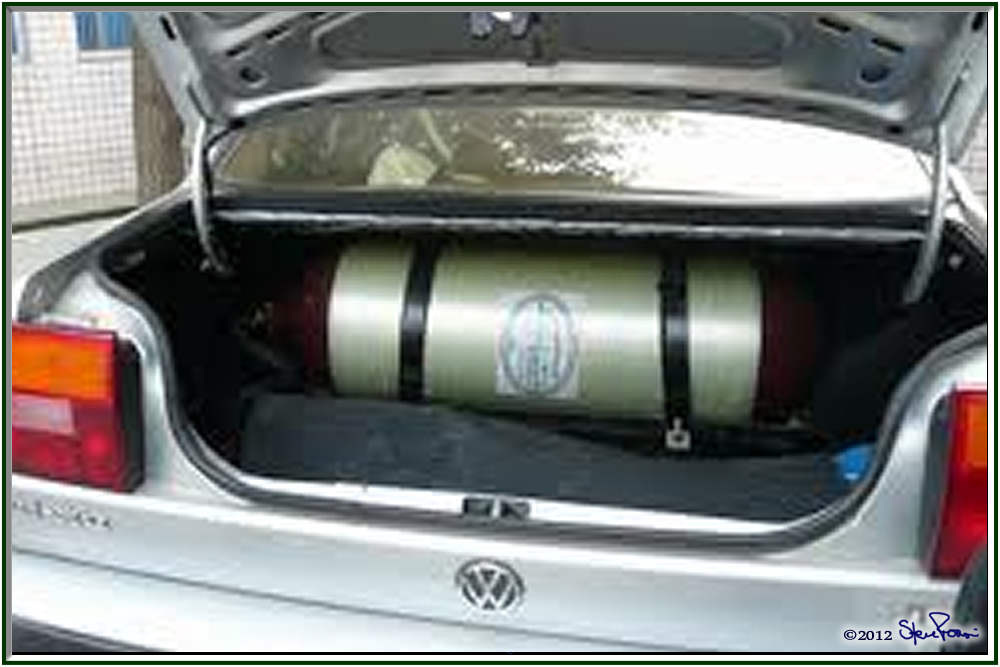
So, I’m going to go out and get some quotes and, barring any serious setbacks, I’m going to have a CNG powered 1978 Mercury Marquis. I will be losing some trunk space to the CNG tank, but I figure if it fits in that VW I can certainly spare the space in my trunk.

Friday, September 28, 2012
Revived for 2012
Wednesday, August 01, 2012
Tapping into my inner MacGyver.
My little brother is the king of MacGyvering. A brace on my older brother’s snow blower broke one snowy day and we brought it over to my little brother’s house. It took about an hour and a half, small piece of metal, drilling and the Dremel, but he fashioned the perfect part. It would have cost $20 – $30 and probably would have had to wait for the part if we went to the snow blower dealer.
I’ve seen him pull this off on may things, and some of it must have rubbed off on me.
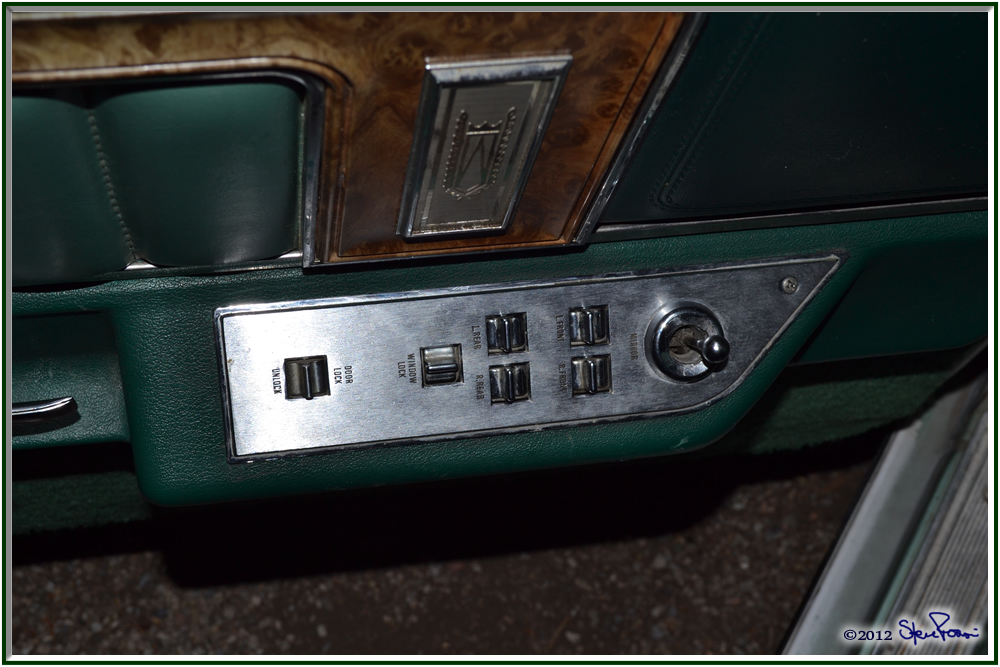
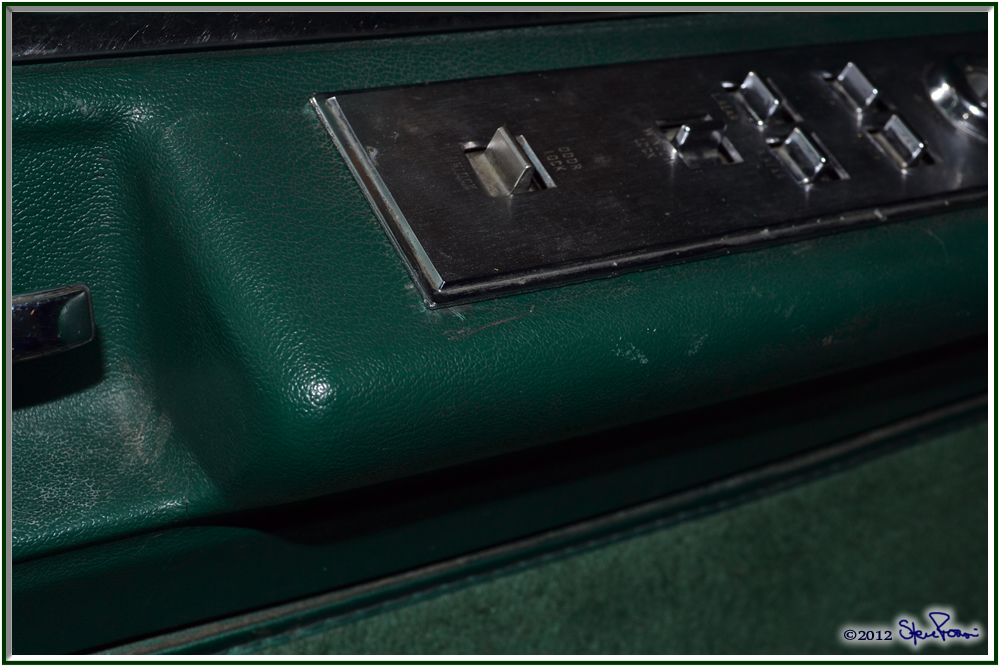
Today I totally pulled a MacGyver on my Mercury. The panel that holds the window and door lock controls was loose. The wide end, opposite the screw at the pointed end, wasn’t hooked in and was flopping around. Driving me nuts.
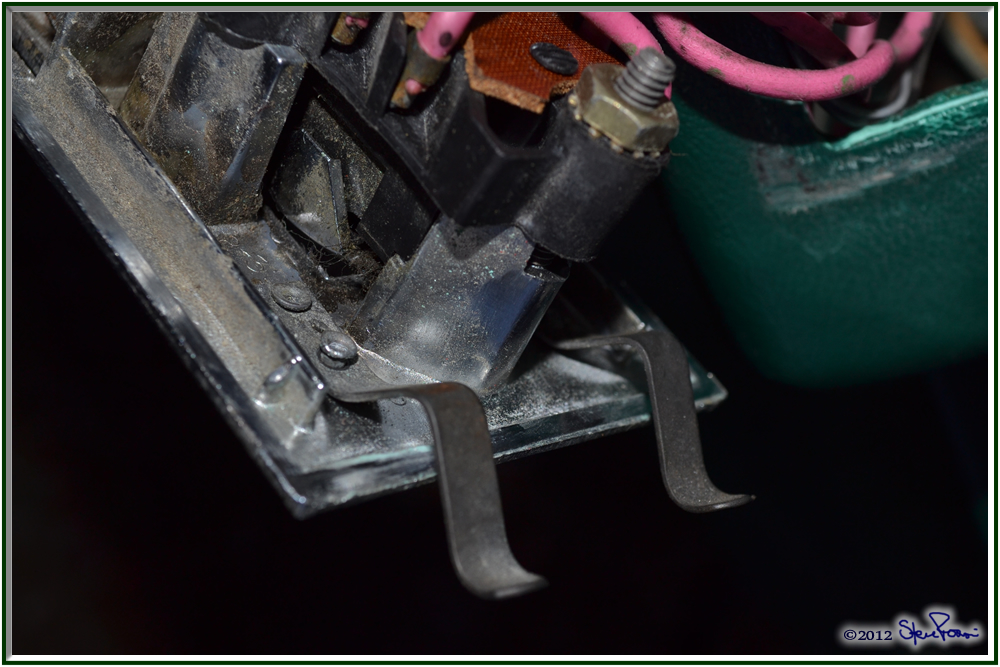
The little clips that held it tight had broken off. I tried gluing the one I found back on, but it popped off seconds after tightening down the screw. (Above: the clips on the passenger side, still in proper place).
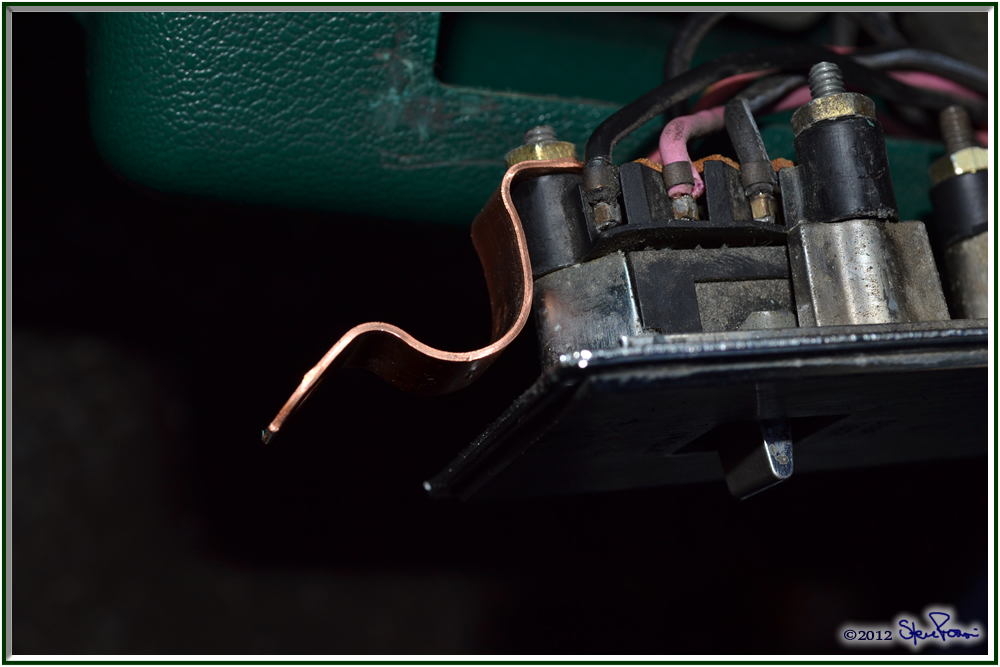
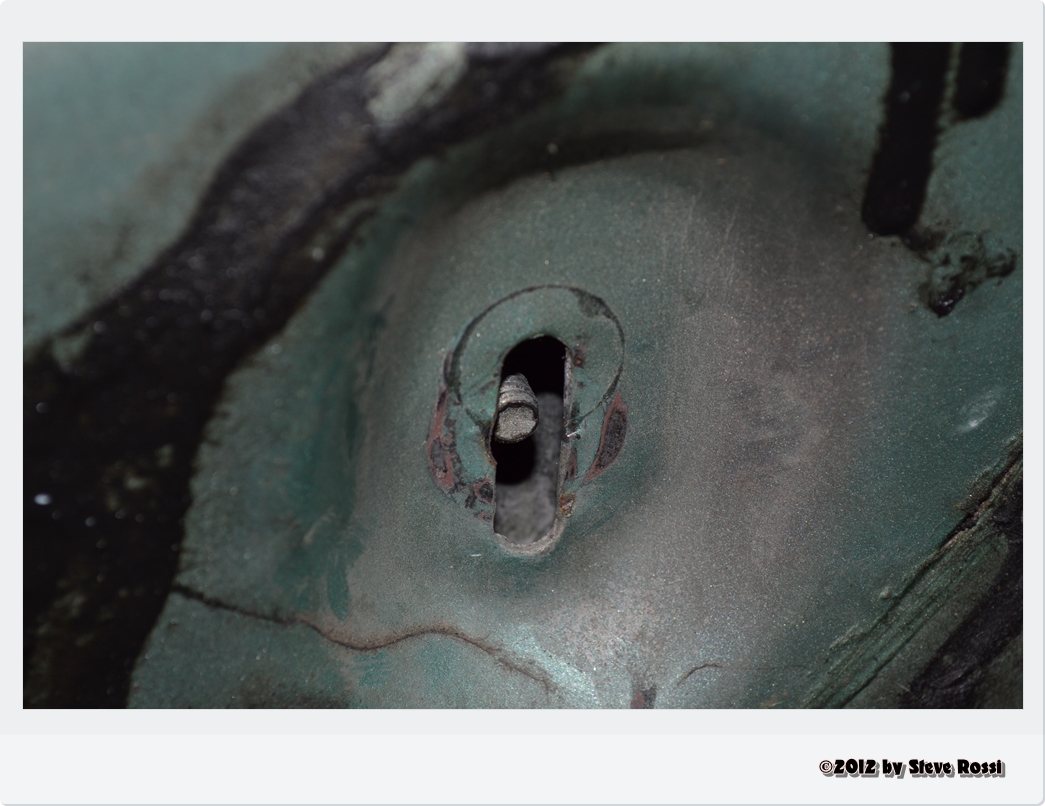
I noticed that bolt that holds the switch in at the back of the panel. Rummaged through my junk drawers where have put every spare bolt, screw and fastener of any kind that I have had extra of, found laying on the ground or pulled off a car over the entire 20 years I’ve lived in this house. There I found this copper plumbing fastener (picture above).
I bolted it on, bent it to where I thought it should work and presto – worked perfect. Tight as it was when it came off the assembly line. And now, since the passenger side ones are a little loose, I know what to do when they pop off.

Friday, July 13, 2012
Auto repair, lesson 2
The back window of the “new” car was a little bit loose. I had to push it forward when closing the door so that it would fit right.
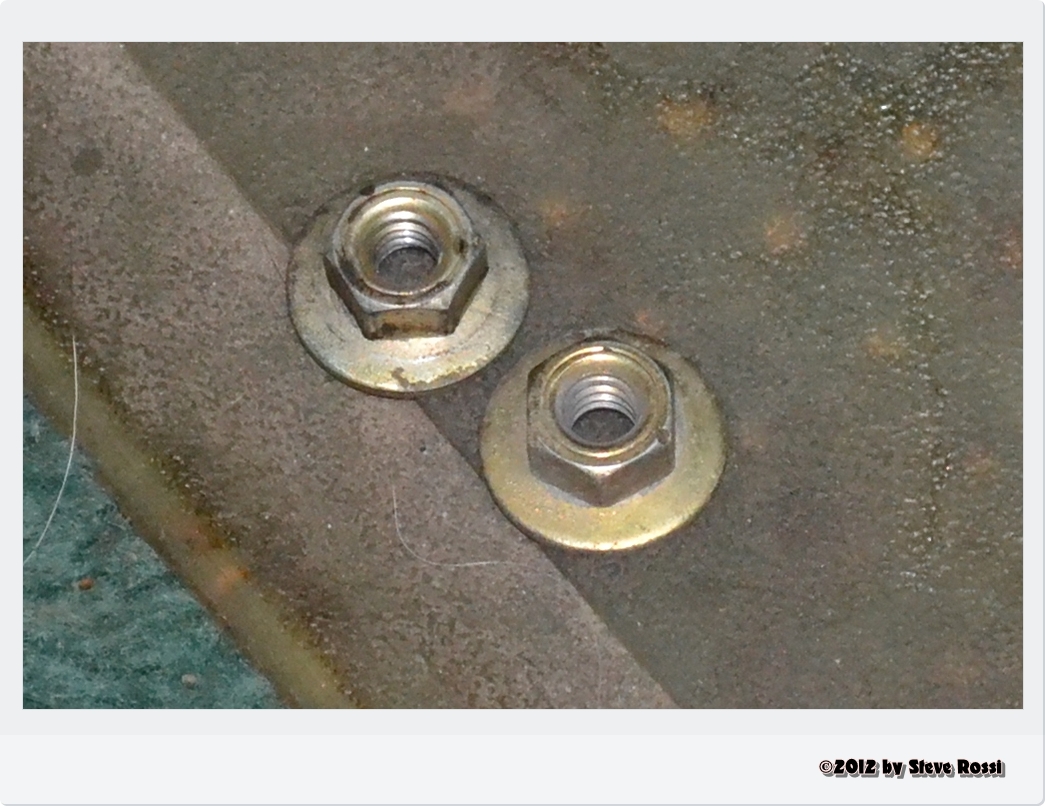
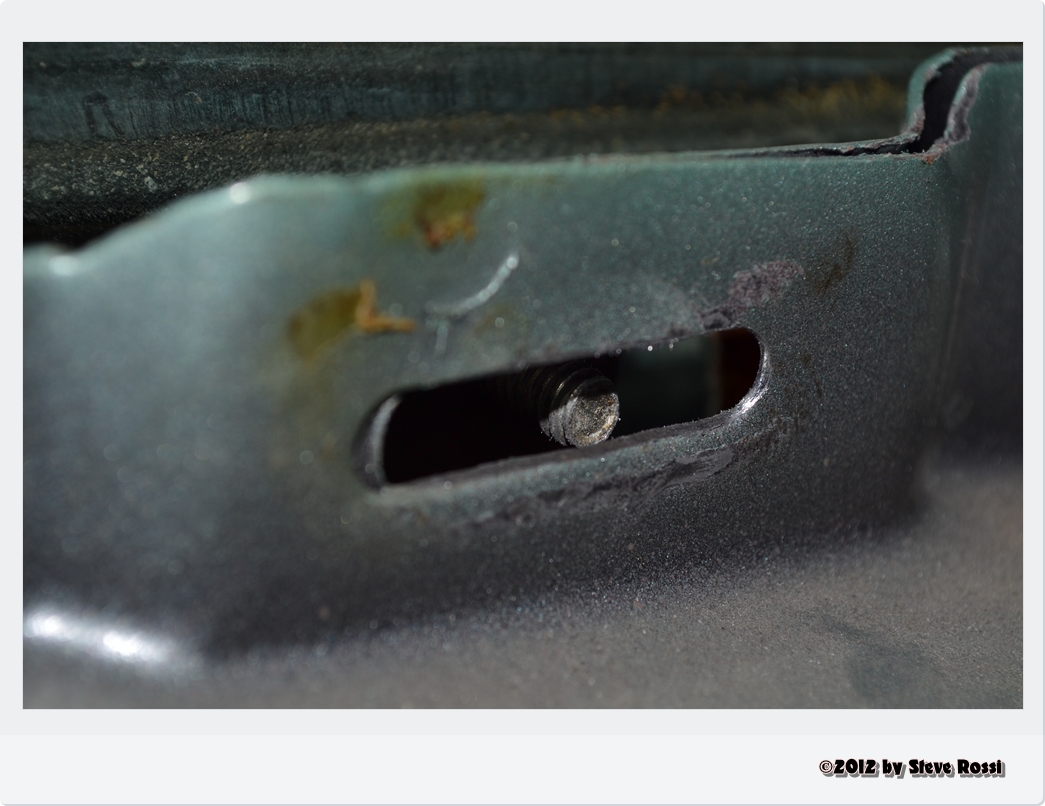
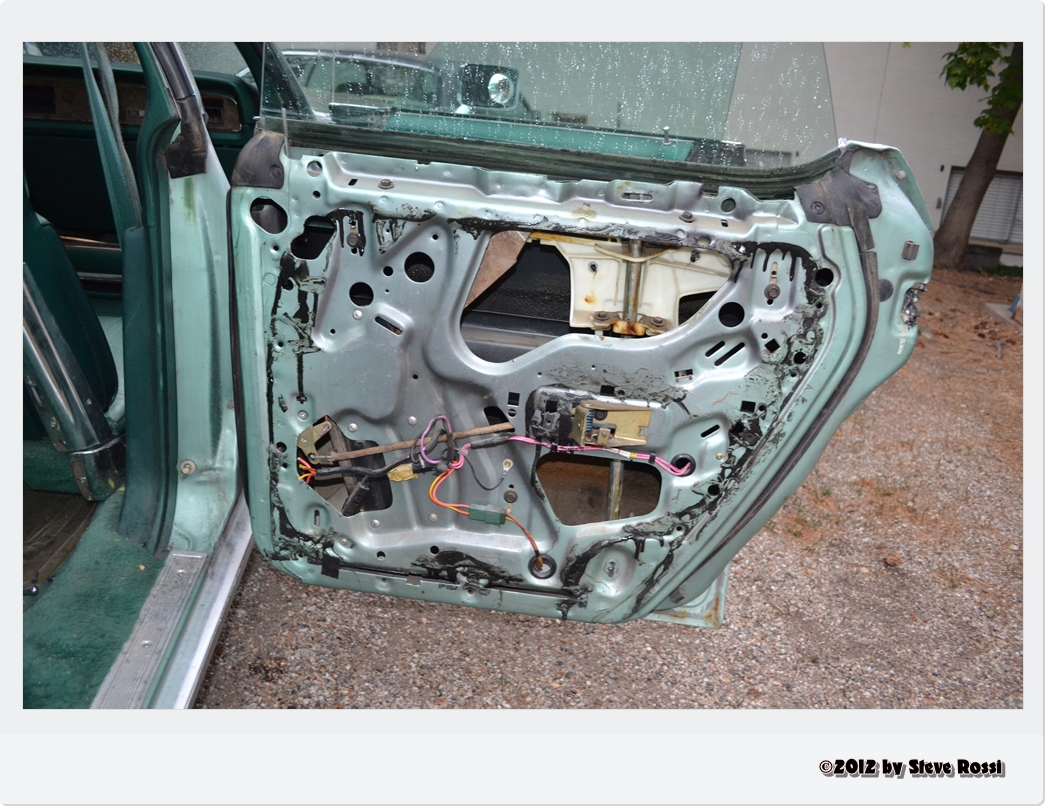
So I pulled off the door panel, and these two bolts drop out. Could be the problem, no?
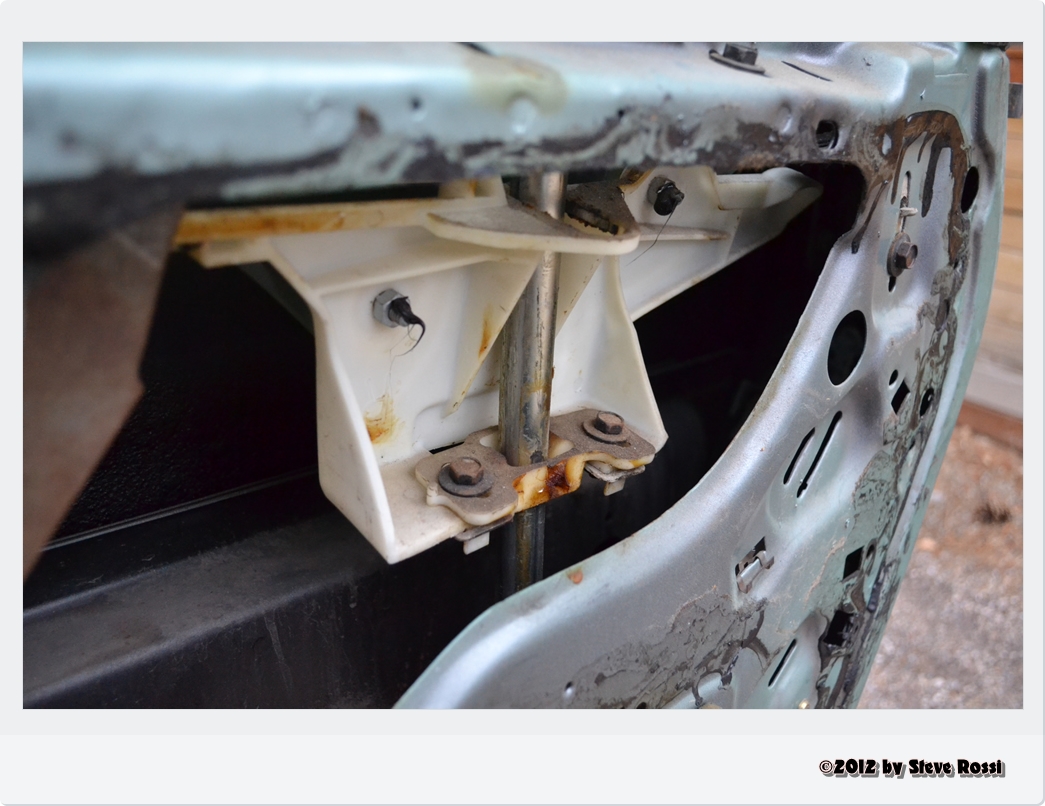
Yes. One was from the top, the other from the bottom of this:
The bar that holds the window in, that plastic is bolted to the glass. So I put the bolts back on and tightened them down and, voila, the window doesn’t wobble any more.
Cool. Hook up the power window switch, put it all back together and I’ll have 3 out of the 4 windows working correctly.
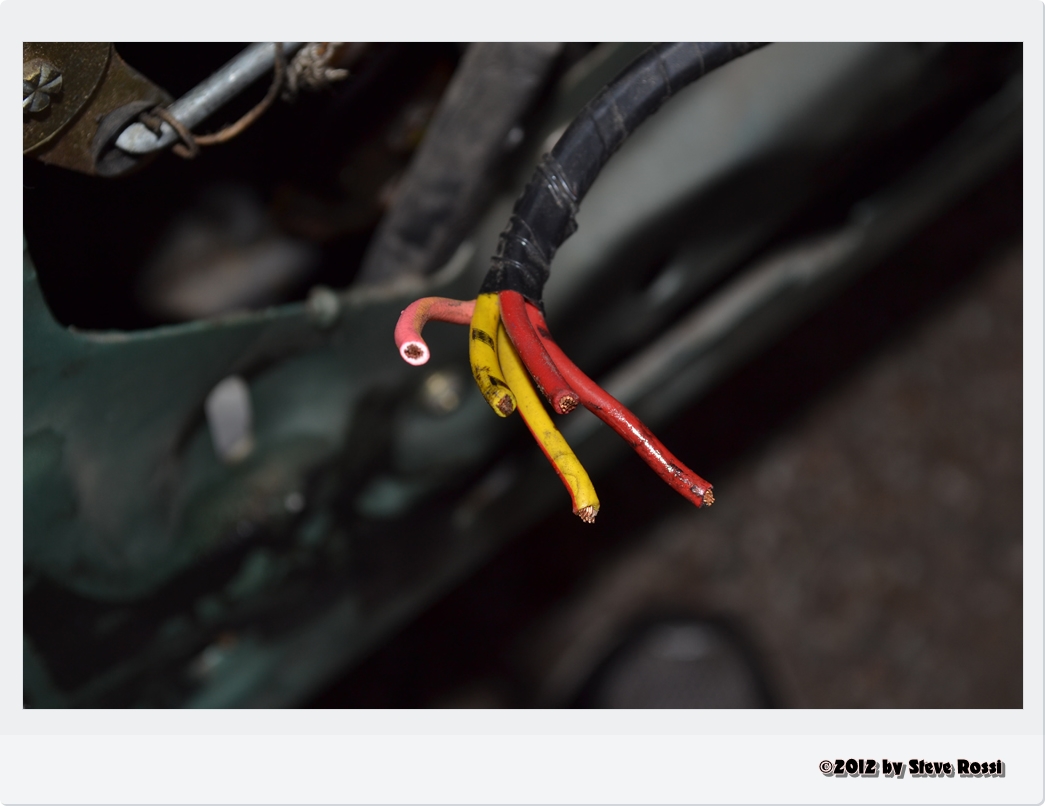
Oops. Some (expletive deleted) cut the wires to the switch, rather than just unplugging it.
Junkyard time. Gotta go get me a good switch plug. Fortunately, any Ford, with power windows, built somewhere between 1970 and 1978 should have the right part.